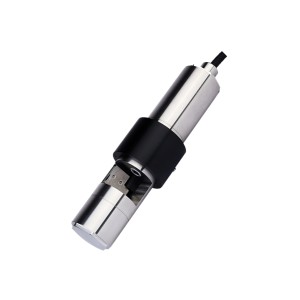
Measurement principle
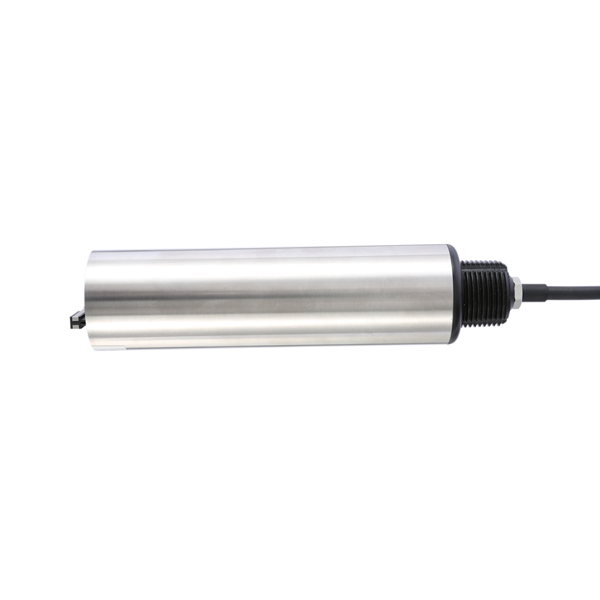
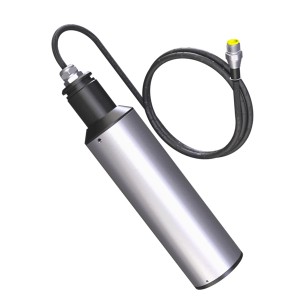
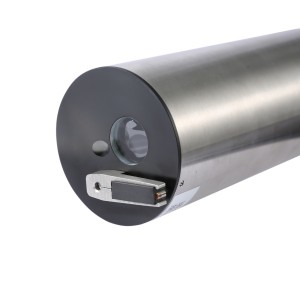
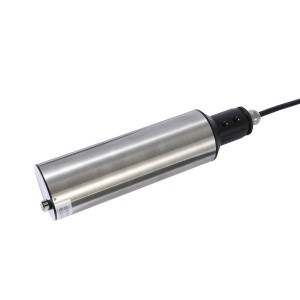
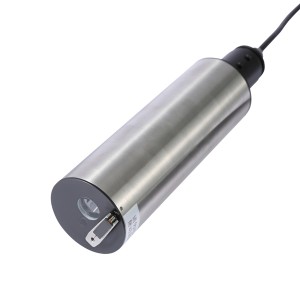
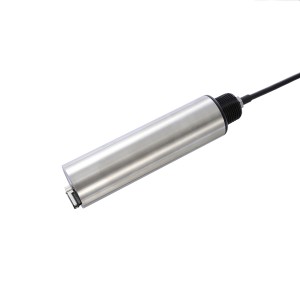
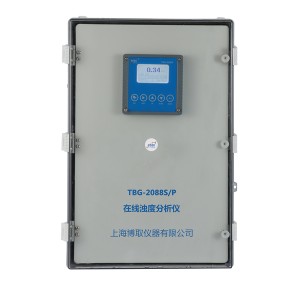
ZDYG-2088-01QX turbidity sensor light scattering method based on combination of infrared absorption, infrared light emitted by the light source after the scattering of turbidity in the sample. Finally, by the photodetector conversion value of electrical signals, and obtaining the turbidity of the sample after the analog and digital signal processing.
| Measure range | 0.01-100 NTU,0.01-4000 NTU |
| Accuracy | Less than the measured value of ±1%,or ±0.1NTU,choose the big one one |
| Pressure range | ≤0.4Mpa |
| Current speed | ≤2.5m/s、8.2ft/s |
| Calibration | Sample calibration, slope calibration |
| Sensor main material | Body:SUS316L + PVC(normal type),SUS316L Titanium + PVC(sea water type);O type circle:Fluorine rubber; cable:PVC |
| Power supply | 12V |
| Communication interface | MODBUS RS485 |
| Temperature storage | -15 to 65℃ |
| Working temperature | 0 to 45℃ |
| Size | 60mm* 256mm |
| Weight | 1.65kg |
| Protection grade | IP68/NEMA6P |
| Cable length | Standard 10m cable, can extended to 100m |
1. The hole of tap-water plant hole, sedimentation basin etc. steps on-line monitoring and other aspects of the turbidity.
2. The sewage treatment plant, on-line monitoring of turbidity of different kinds of industrial production process of water and waste water treatment process.
Turbidity, a measure of cloudiness in liquids, has been recognized as a simple and basic indicator of water quality. It has been used for monitoring drinking water, including that produced by filtration for decades. Turbidity measurement involves the use of a light beam, with defined characteristics, to determine the semi-quantitative presence of particulate material present in the water or other fluid sample. The light beam is referred to as the incident light beam. Material present in the water causes the incident light beam to scatter and this scattered light is detected and quantified relative to a traceable calibration standard. The higher the quantity of the particulate material contained in a sample, the greater the scattering of the incident light beam and the higher the resulting turbidity.
Any particle within a sample that passes through a defined incident light source (often an incandescent lamp, light emitting diode (LED) or laser diode), can contribute to the overall turbidity in the sample. The goal of filtration is to eliminate particles from any given sample. When filtration systems are performing properly and monitored with a turbidimeter, turbidity of the effluent will be characterized by a low and stable measurement. Some turbidimeters become less effective on super-clean waters, where particle sizes and particle count levels are very low. For those turbidimeters that lack sensitivity at these low levels, turbidity changes that result from a filter breach can be so small that it becomes indistinguishable from the turbidity baseline noise of the instrument.
This baseline noise has several sources including the inherent instrument noise (electronic noise), instrument stray light, sample noise, and noise in the light source itself. These interferences are additive and they become the primary source of false positive turbidity responses and can adversely impact the instrument detection limit.
The subject of standards in turbidimetric measurement is complicated partly by the variety of types of standards in common use and acceptable for reporting purposes by organizations such as the USEPA and Standard Methods, and partly by the terminology or definition applied to them. In the 19th Edition of Standard Methods for the Examination of Water and Wastewater, clarification was made in defining primary versus secondary standards. Standard Methods define a primary standard as one that is prepared by the user from traceable raw materials, using precise methodologies and under controlled environmental conditions. In turbidity, Formazin is the only recognized true primary standard and all other standards are traced back to Formazin. Further, instrument algorithms and specifications for turbidimeters should be designed around this primary standard.
Standard Methods now define secondary standards as those standards a manufacturer (or an independent testing organization) has certified to give instrument calibration results equivalent (within certain limits) to results obtained when an instrument is calibrated with user-prepared Formazin standards (primary standards). Various standards that are suitable for calibration are available, including commercial stock suspensions of 4,000 NTU Formazin, stabilized Formazin suspensions (StablCal™ Stabilized Formazin Standards, which is also referred to as StablCal Standards, StablCal Solutions, or StablCal), and commercial suspensions of microspheres of styrene divinylbenzene copolymer.

